Tutorial: Making a Santa Stamp from Foam
Last Winter Pat Gaignat taught our Journal Study Group how to make simple stamps from adhesive, paper-backed, foam and I made a series of stamps from my sketches of a pregnant model at Figure Drawing.
This Fall she helped us make stamps for multicolor images and we each copied a museum masterpiece as our challenge. You can see those stamped images here with links included to Pat's blog and Melanie Testa's blog. Pat published this technique, which she calls Faux Screenprinting, in the magazine Cloth, Paper, Scissors (September-October 2010).
I made a Santa stamp last week from one of my journal pages and stamped lots of them over the next few days. There were many questions re: the technique in one of my art groups, so with Pat's permission, I'll go through the process as I make a gift tag.
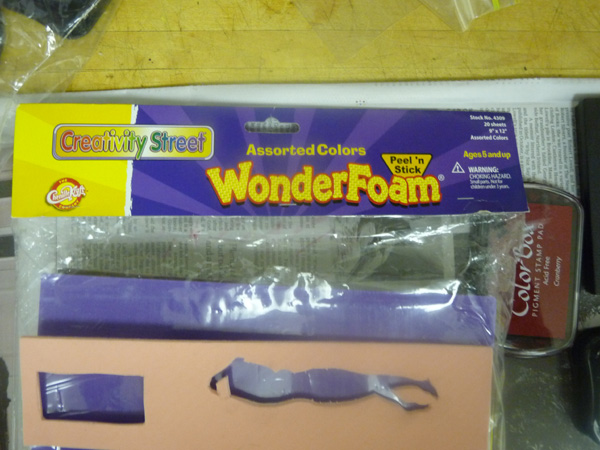
I bought my package of foam at a Dick Blick store - but Michaels also carries it sometimes. I have made many stamps and only used 1+ out of 20 sheets so far. Here is the package that I am using.
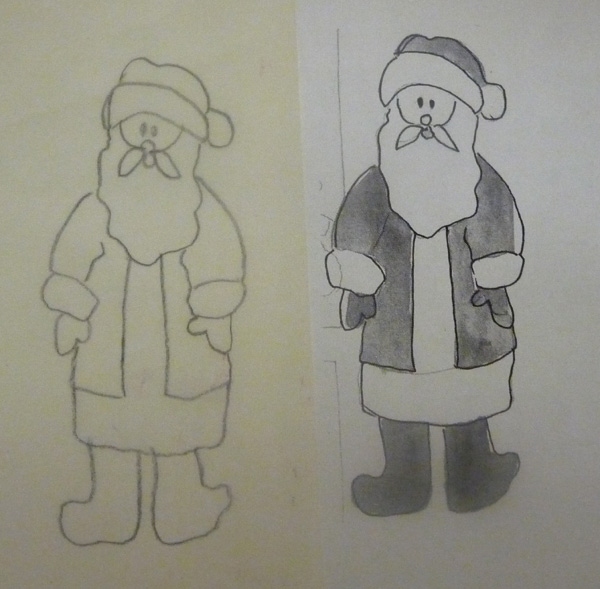
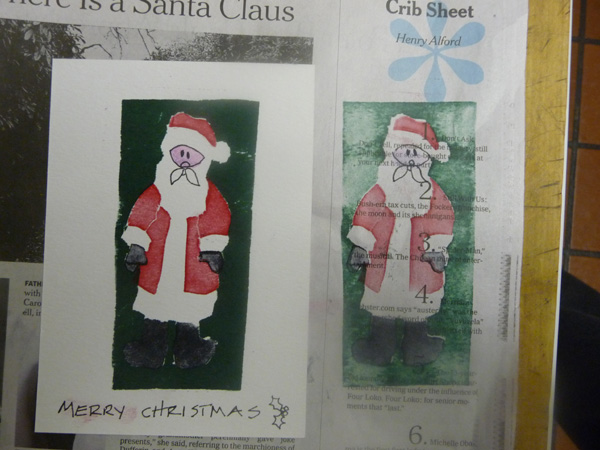
I scanned my Santa painting, sized it, and printed it in black and white (Santa on the right). This made it easy to trace it for the stamp (Santa on the left). I used a 2B pencil and made sure that the line was complete, because the graphite is transferred to the foam by burnishing the drawing face down over the foam. Lift the edges of the tracing paper periodically, to make sure that you have a full image transferred.
The images should be carefully cut out using an xacto-knife. All pieces that are the same color will be made into one stamp - so the Santa image has a green stamp (background), red stamp, black stamp, and pink stamp. The white areas are the white paper.
Making a Stamp: See the stamp on the photo below.
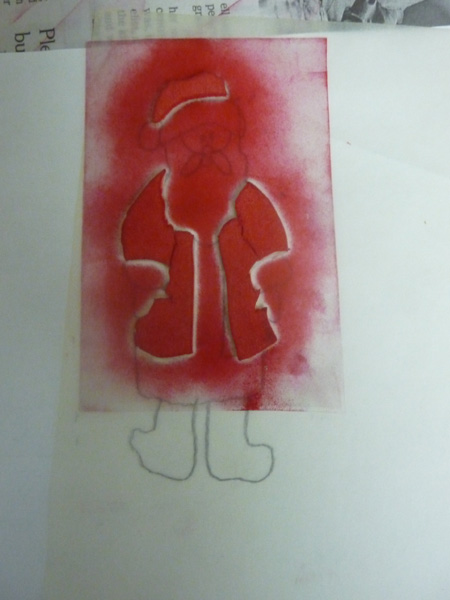
This stamp has been used multiple times - the red color is the stamp ink on the foam, and on the surrounding plastic transparency - because I was careless when inking the stamp.
After the pieces of Santa were cut out of the foam, the paper was removed from the back of the foam, and each piece was adhered to the "ink jet printer transparencies." These are flexible pieces of plastic (8.5 X 11"), purchased at Staples.
In this photo you can see how to accurately place each piece that will be the same color. On the bottom is my tracing, reverse side up. Then the transparency is placed over the tracing. Finally, each piece of foam is glued on the appropriate place on the transparency. This is the red stamp for my Santa. My piece of foam was peach colored - the red comes from multiple inkings - during 15+ stampings this Christmas.
Small pieces of plexiglass could also be used, both of these supports allow you to look through the stamp for placement of the next color. However, the transparencies are so flexible that you can lift up the edge during stamping to make sure you transferred the ink completely. I put the pieces on the stamp and then cut the transparency, leaving a generous border around the foam. I'm not very careful and I get ink on the transparency as well when I'm loading the foam with ink on the stamp pad. Sometimes I get smudging but I try to be careful so I don't transfer some of this unwanted ink.
All of the Stamps for Santa:
Here are all of my stamps to make Santa: a green one for the background, red for his suit, one stamp for black boots and one for mittens, and a very small piece on the lower left for pink for Santa's face. I could have put the boots and mittens together as one stamp, but I was having trouble cutting the very tiny mittens and thought I might need to recut them. All of the stamps were photographed with the foam side up. Here you can see how much of the transparency was left around the foam for each stamp (because I'm messy and have ink in unwanted places!).

Stamping the Image:
I start with the background for accurate placement, and then stamp the red coat, black boots, black mittens, and pink face. Here are each of the stamped images, in order.
Green Background: Stamped image on the left, stamp on the right. I used a Staz-on brand ink pad for the green. The inks dry relatively quickly. After I stamp my "real image," I stamp a second image on waste paper to clean off the stamp. In this instance, you'll see another Santa appear on newapaper. Until I took the photo, I had no idea that I was using a Santa related page of the New York Times!

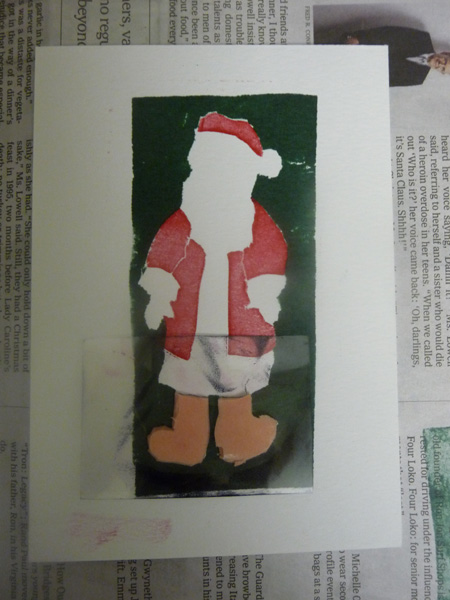
Red Stamp: I could see through the stamp and placed it carefully within the green image. A Color-Box stamp pad was used for this color.

Placement of the black boots stamp: Here you can see the actual stamp, placed to make the black boots. The stamp was placed over the boot area and the peach color is the adhesive side of the foam seen through the transparency.
Mittens Stamped: Completed black stamping on left and both stamps, foam side down on the right. You can also see my "growing" Santa on the newspaper on the right.

Face Stamp: I didn't have a peach colored ink, so I used a quick coating of the stamp with white and then dark pink. I experimented to find this - and it worked! The smudge you see on this stamp was prior messiness on my part - but it didn't affect the subsequent stampings. The facial details were drawn with a 05 Zig Millenium pen - but I also used 05 pigma micron pens on some of them.
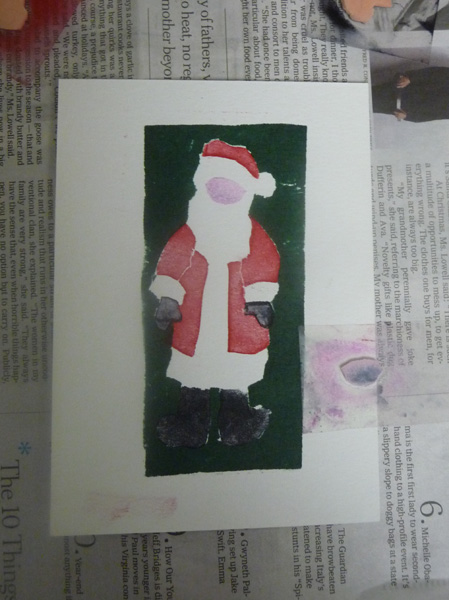
Santa Plus One: My Santa image on a piece of watercolor paper (right) and my waste image on newspaper (left).
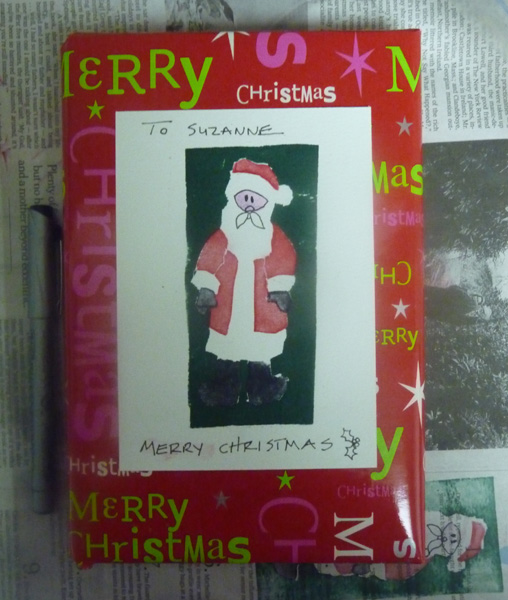
The Finished Gift Tag I made on 12/24.
Please ask any questions in the Comments section of this post. I can refer hard ones to my mentor Pat. I haven't used this set of stamps with acrylic paint, but if I did, I would immediately throw them into a bowl of water until I could clean them with warm water and gentle finger pressure to remove the paint.
Have Fun - and please show us any stamps that you make....
Happy Holidays! It is time for me to put away my Santa stamps (in a ziplock sandwich baggie) until next year.
Comments
It sure took a lot of effort(and I already knew that) but I just love the uniformity of the entire package! It's your design, and they are not all exactly the same, but they are very very similar ^^ Love them!
Posted by: Alex Tan | December 26, 2010 7:44 AM
Fascinating! I will add making stamps to my long list of projects - 2014, I think. Hope you had a wonderful Christmas!
Posted by: Dan Kent | December 26, 2010 1:20 PM
Shirley, it was nice of you to take so much time and effort to make this thorough tutorial. Santa must be exhausted from the workout you gave him this year.
Posted by: PatriciaG | December 26, 2010 2:32 PM
It is definitely nice of you to do this! I have several friends who I know will be interested in this. Can't wait to try it.
Posted by: teri | December 27, 2010 2:35 PM
Wonderful! Thanks for the tutorial. It looks fun! Hope you're having a wonderful holiday!
Posted by: raena | December 27, 2010 7:31 PM
What a great tutorial, Shirley. Many thanks - I'm going to have to track down some WonderFoam.
Posted by: robyn | January 1, 2011 8:21 AM
Ooh you've pushed me to find my stpiamng foam. I first bought it years ago (like you), and was having so much fun pressing it into the bottoms of crystal candy dishes, coasters and other detailed items. I remember a friend pressing into the design on her banister. So many possibilities. Thanks for reminding me to go have fun with this!
Posted by: Mar | May 21, 2012 2:40 AM