Basic Bookbinding Class at FIT - Part 2
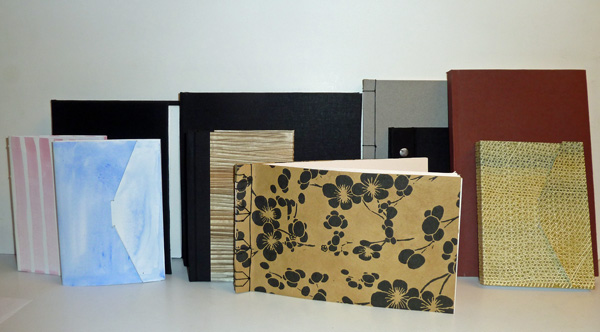
I love books and was basically a self-taught bookbinder because I wanted watercolor sketchbooks with specific paper at affordable prices. But then my interest grew and I spent 2013 teaching myself to make one new book structure per month. It seemed like a great idea to take a Basic Bookbinding course at FIT to learn even more - and now the semester is over. These are the books that I made during my Fashion Institute of Technology (FIT) class. There were 9 structures, but I haven't finished the last one (several folded books), so only 8 different types of books are pictured here - some with two copies made the same way.
The first 5 types of books were already posted to the blog.
http://www.paperandthreads.com/bookbinding/
The following photos are of the last 3 types.
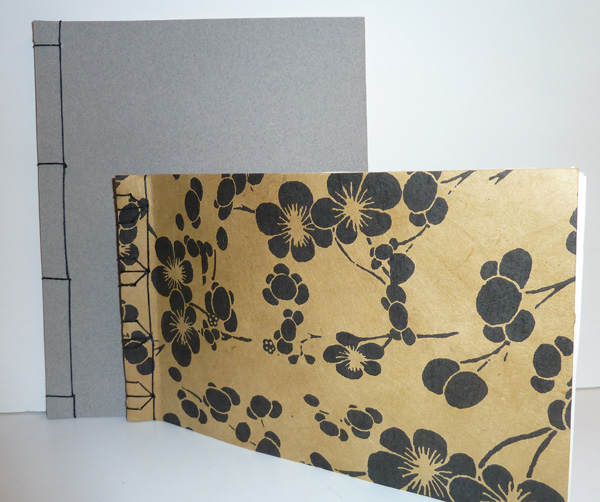
Book #6: Japanese Stab Binding - with two stitching Designs. These are easy books to make, but the binding doesn't allow the pages to open flat so I don't like them for drawing or painting.
Book #7: Album Binding
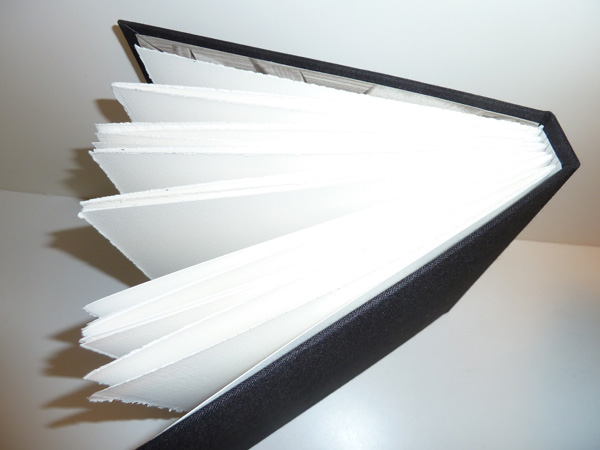
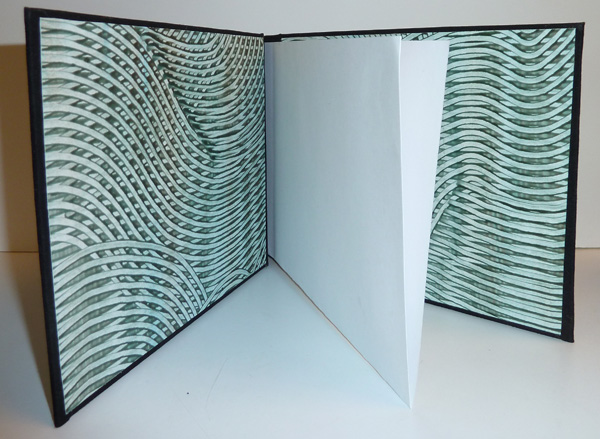
This book is designed with extra room between the signatures, which are stitched to a book cloth hinge using a 5 hole pamphlet stitch. A book board hard case is made and the hinge is glued to the front and back cover. End papers are then glued to the inside of the front and back covers. This is a great structure for a travel sketchbook because it opens flat for drawing or painting and lots of ephemera can be glued in without overstretching the binding.
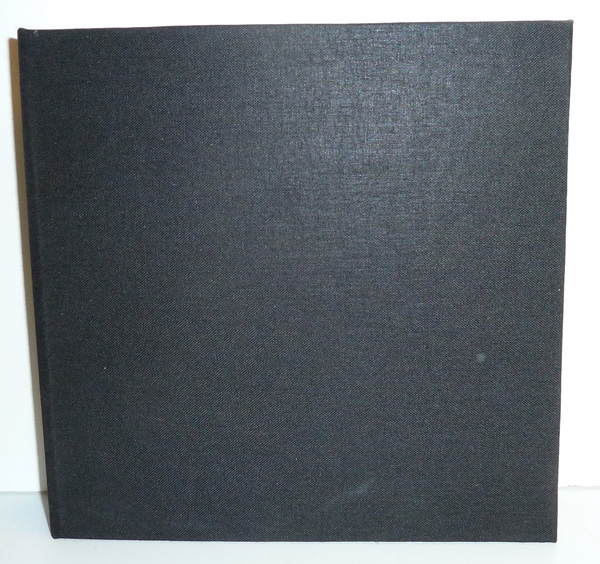
My book has 140 lb watercolor paper in the signatures and paste paper for the end papers.
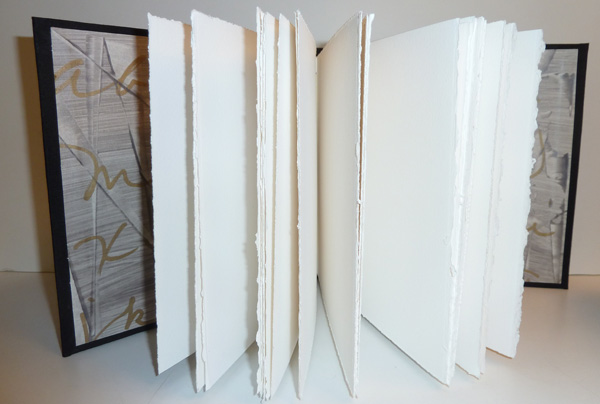
This is the view from above showing the spaces that left between the signatures where they attach to the spine - for later expansion.
Book #8 is a Screw Post Portfolio, the only book structure that we made with single pages. Two boards are covered for the front and back of the book. Holes are then punched in the covers and pages and metal screw posts are inserted. The pages don't open flat, but the structure is a good one when putting together pages, photos, drawings, paintings that are on single pages.
The number of pages can be increased at any time by buying longer screws for the posts.
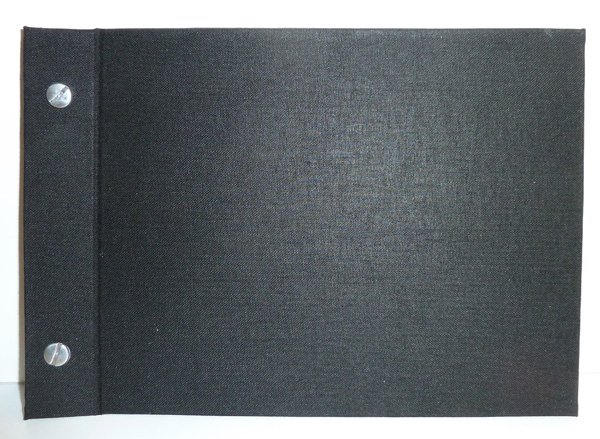
My book only has two pages in it because I just wanted to make a template for punching other pages.
Comments
My Great Grandad was a professional bookbinder and I keep telling myself that I'll learn how to bind books so this is a nice reminder! Very inspiring :).
Posted by: Cathryn | January 7, 2015 6:31 AM
Love the books especially the album binding.
Posted by: Beth Berman | January 7, 2015 7:28 AM
Love the books especially the album binding.
Posted by: Beth Berman | January 7, 2015 7:28 AM
Looks like a productive class. I, too, share in the bookbinding interest. Looks like the class had plenty of substance to it.
Posted by: John Payne | January 7, 2015 8:05 AM
Hi Shirley,
I am fascinated with the album binding. I have a few questions if you wouldn't mind. How wide is the cloth? What kind of cloth is it (something special for spines)? Is it single thickness. If you can think of any other helpful hints, please let me know. I've scoured the web and YouTube for tutorials for this binding technique.
Posted by: Beth Berman | January 8, 2015 10:38 AM
Hello Shirley,
What a wonderful and interesting post!
I've often thought of making my own sketchbooks both watercolour paper and drawing paper.
Right...I'm off to read Part One :-)
Stew.
Posted by: Stew Crowther | January 10, 2015 6:54 AM
㱨ㄠ捬慳猽≣潮瑥湴彴楴汥∾㱡牥昽≨瑴瀺⼯睷眮睭浪朸㠮捯洢㻥趗髨蚜鏦麄㰯愾뫦芨귥벀雧閌諦鲀ꧨ蚜鏦麄 南通膜结构 뫧궑㰯栱㸍਼摩瘠捬慳猽≣潮瑥湴∾㱳灡渠獴祬攽≦潮琭晡浩汹㨠卩浳畮㬠汩湥敩杨琺‱㝰砻慣歧牯畮搭捯汯爺‣晦晦晦∾雧閌諦鲀ꧧ骄鳧뮓蓥뮺釥螺냥鲨ㄹ㜰듥꒧ꫤ뢖髤벚賦궤軨蚜鏦麄뫧궑韥袰蛥뺈骄釥놕舼⽳灡渾ഊ㱰汩杮㴢汥晴∠獴祬攽≦潮琭晡浩汹㨠卩浳畮㬠扡捫杲潵湤ⵣ潬潲㨠⍦晦晦昢㻨蚜鏦麄꿧钨飥벺ꛦ龔隄鳦鶐駤뢎꿦銑鏧뎻룧뮓裥붢郥薷觤뢀髥袚ꛧ骄돥꺚닩鶢賨莽뿥辗胥꺚雨趷뷧骄뫩鞴鏦麄ꋥ벏賦颯胧Ɥ뫧궑軧뮓
Posted by: 镇江膜结构 | January 27, 2015 8:18 PM