Making a Watercolor Sketchbook - Intro to Tutorial
I love making cased-in, multiple signature, watercolor sketchbooks - and alternate between recycling old books as travel sketchbooks, and making new books for my daily sketches.
We are returning to Venice this Spring and I wanted to recycle an old book as a watercolor travel sketchbook. I photographed the process of making this Venice book and will post the tutorial, in several parts on this blog over the next few weeks.
But first - How to select an old book for recycling.
Some people find it very difficult to repurpose an old book. I love books as much as anyone, but when I see a book on the $1 carts at Housingworks Book Cafe in New York City, or the $2 outdoor carts at the Strand, I know that I will be adopting an orphan and giving it a new life.
Last Fall I found a fabulous book called Italian Dreams - for $2.00 - on the outdoor book carts at the Strand. The cover was beautiful and in excellent condition. And the book was just the right size to carry around on our travels (approx. 6 3/4 W X 8" H).
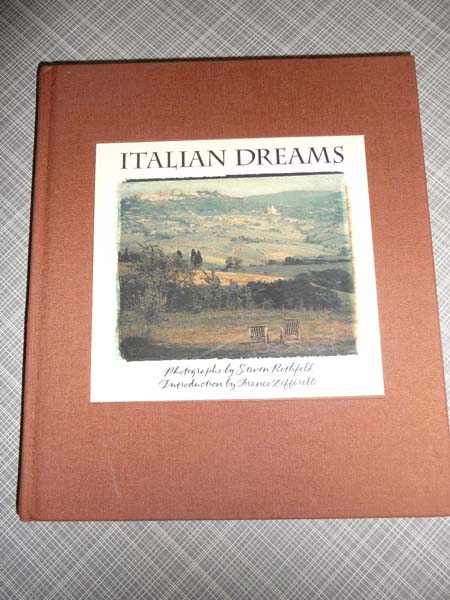
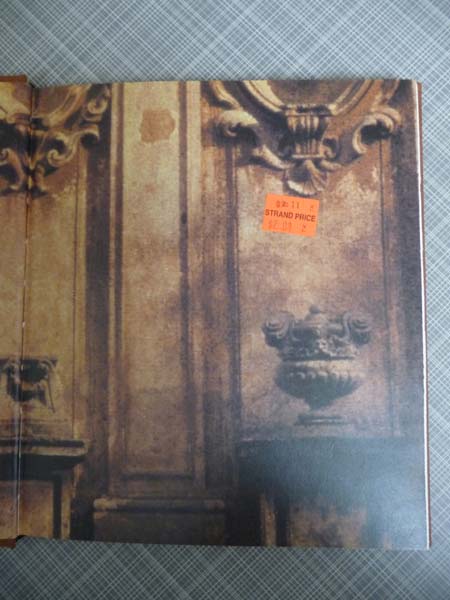
The original end papers were beautiful - and I will save them for collages inside the book.
The book has lovely photos of Italy and quotes by notable people on facing pages. I carefully took the original page block apart to save these folios to add to my sketchbook.


When selecting an old book, I also carefully examine the original binding, and only buy books that have multiple sewn signatures, and a page block that is not glued to the spine of the book. The brown spine heading that you can see in this photo is NOT attached to the spine. You can see that by opening and closing the book covers while looking carefully at the top of the spine.

I will post the complete process in several parts over the next several weeks (Wed, Sun, Wed). If you want to follow along, you should look for an old book now and think about the other supplies. I've added parenthetical notes for common substitute supplies I've seen mentioned.
Part 1 will be: Removing the Page Block, Measuring and Saving the Folios from the old book, and Tearing Down the New Watercolor Paper. These will be 3 separate blog entries uploaded on the same day because there are so many photos.
Supplies Needed for Part 1: craft (x-acto) knife, scissors, ruler, bone folder, watercolor sheets (22 X 30") or some other format of watercolor paper, and one decorative sheet for end papers. I needed only 2 sheets of 140 lb watercolor paper to fill the 1/2 " spine of my old book.
In Part 2 we will stitch together the signatures, glue on the end papers, and glue the spine.
Supplies needed for part 2: linen bookbinding thread (dental floss, quilt or carpet thread), and a needle, awl (ice pick or other sharp object) for making holes in the paper, mulberry paper and book mull to glue the spine (or other thin, but strong paper or fabric) PVA glue (or white craft glue), a glue brush, and heavy books to use for weights.
In Part 3 we will "case-in" the new page block - attaching the page block to the inside of the old cover with glue.
Supplies needed: Glue and glue brush, weights
I hope that you will join me and learn how much fun it can be to make your own watercolor sketchbooks. After making approximately 6 of these recycled books, I took a 1 1/2 day bookbinding class locally to learn how to make my own book covers, and now make both types of books.
Comments
Wow, this is going to be a gorgeous series...
Posted by: Cathy Johnson (Kate) | January 15, 2012 8:24 PM
Well, this should be interesting! Look forward to the rest of the posts on this.
Posted by: Caatje | January 16, 2012 2:53 AM
Thank you so much for this ! I'll closely follow your steps !
Posted by: Martine | January 16, 2012 5:00 AM
Wow,Shirley, you hit the jackpot with this book. Thank you for taking the time to document your process. I've done this before but always feel like I have things to learn. I'm anxious to see how you do this!!!--Carol C.
Posted by: Carol C | January 16, 2012 11:10 AM
I am looking forward to seeing your process. Thanks for sharing!
Posted by: Rebecca Stahr | January 16, 2012 12:17 PM
I was so impressed with your book that I managed to locate a copy that wasn't too expensive, and I'm planning to repurpose it, too. The inside text and images are absolutely beautiful, and perfect for this purpose!! Thanks for sharing.
Posted by: teri Flemal | January 16, 2012 11:13 PM
Shirley, you are a treasure! I look forward to following along. I have attempted recycling books in the past with some success, but to follow along with you will be great. Thank you!
Posted by: Jeannie | January 18, 2012 3:30 AM
I'm really looking forward to this, I have the desire, but not the knowledge to make my own books... so this series will be really helpful for me.
Posted by: CaptElaine | January 19, 2012 9:50 AM
This was a great demo. Thank you for all the time you put into photos and logging each process.
Posted by: Pamela | January 29, 2012 8:08 PM
A month late, but I'm excited to see what I can do!
Posted by: Lori Wostl | February 28, 2012 10:34 AM
Lay the chicken pieces skin side down in your baking dish.
As soon as the fried chicken is already cooked, remove
them from the skillet and arrange them in a pan, then cover with
paper towels to keep them warm. This is certainly cheaper than taking
them out for fast food and fried chicken is very simple to make.
Posted by: Greek.Food.Com | August 3, 2013 5:59 PM
Look forward to seeing the following directions to making your own watercolor sketchbook, using old book covers.
Posted by: Claudette Panico | May 19, 2017 3:44 PM