Making a Simple Sketchbook - The Double Pamphlet
Making a Double Pamphlet Book is one of the easiest and fastest ways to construct a watercolor journal, a sketchbook or simple notebook. This is a watercolor sketchbook that I made in less than one hour and it has 24 pages of 140 lb watercolor paper which is perfect for a short trip or special project.
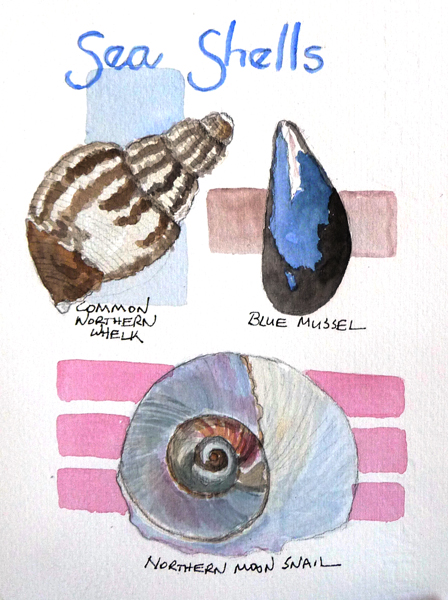
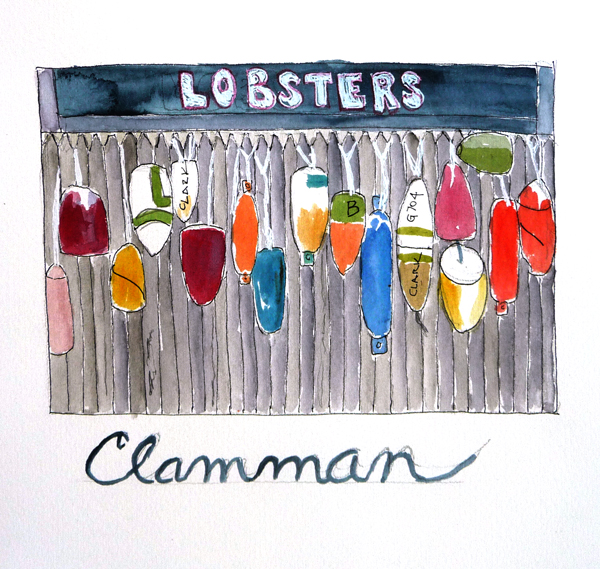
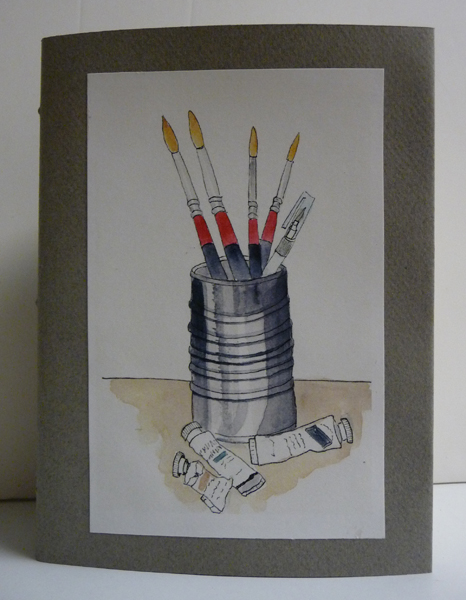
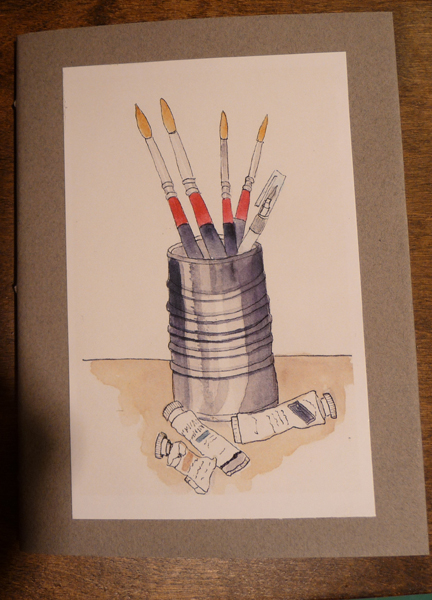
The cover illustration is one of my watercolors that I scanned and printed out on matte presentation paper. You could paint, collage, stamp or stencil the cover based on the cover paper you choose.
You can select any paper for the two signatures and cover. The only requirement is that you determine the paper grain and make the folds parallel to the grain. But I suspect that it is less of a requirement for this simple book than a hard-backed, cased-in, multiple signature book.
The other supplies are relatively easy to collect - and there are many substitutes. Here is a photo of the supplies that I used.
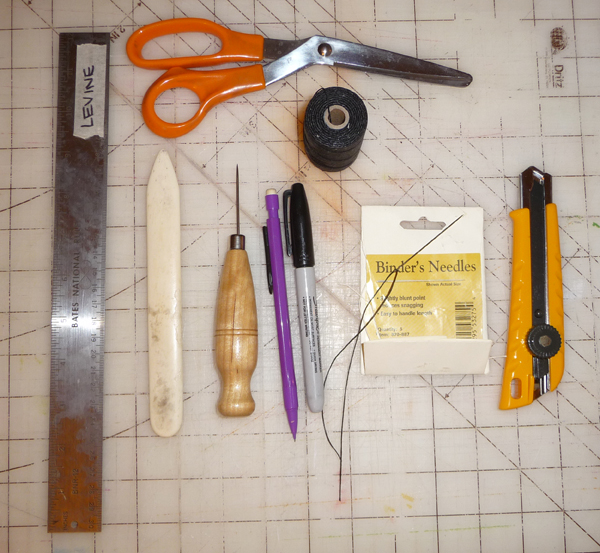
Ruler, Scissors, Bone Folder (or something else to press in the folds), Awl (or any sharp tool to punch holes), pencil, pen, Binder's Needles (or any other sharp heavy needle), Linen Bookbinding Thread (or carpet thread, dental floss, embroidery thread etc), X-acto Knife.
Preparing the Paper:
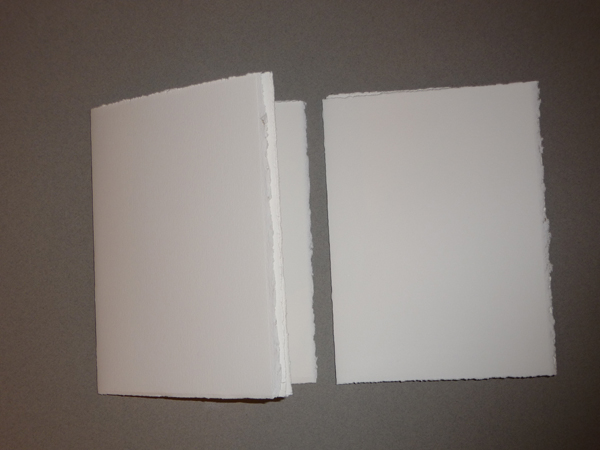
Fold 2 signatures out of the paper you want for your journal. I used 140 lb paper and I tore 3 folios for each signature. With thinner paper you could increase the number of folios in each signature. See the definition of folios, signatures, and paper grain below.
Some Useful Definitions
A folio is the full size page that gets folded in half to make up the signatures. Each folio will make 4 single-sided pages in the book.
A signature is a collection of folios, all folded together. I use 140 lb watercolor paper and only two - three folios can be put in each signature.
Grain is the orientation of the fibers in the paper - very much like fabric. Handmade papers don't have grain. When making a book, the grain of the paper needs to be parallel to the spine of the book unless you want a wonky book. This is the first and last rule of bookbinding.
My folio measured 7.5" X 11.25 ". The signature measured 7.5 X 5 3/4".
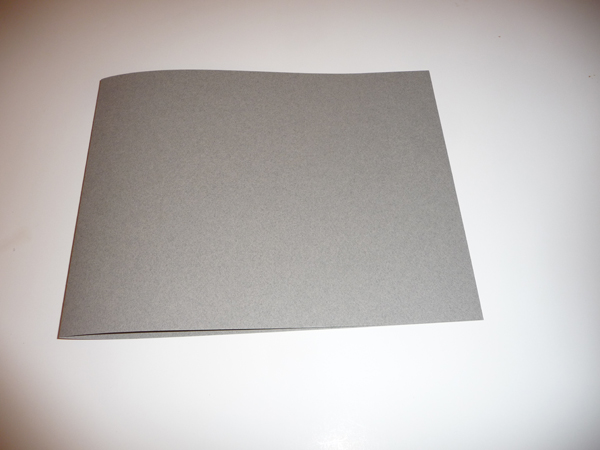
I used Canson Mi Tientes paper for the cover because it comes in many colors and is like card stock in thickness. It is easy to fold and punch for stitching. The paper grain is parallel to the short side of the sheet, so I wanted a paper that was wide enough to make the book (11.25 + 1" for the inside tab + 4-6" for cover flaps). This will become easier to understand as you read the next section.
I used a metal ruler and X-acto knife to cut the cover across the longest width of the paper and then folded it in half.
It is then necessary to score the paper 1/2" from each side of the fold and fold the front and back covers along that scoring line -in the opposite direction from the center fold. See the next few illustrations to understand why - it is the only confusing part of this book structure.
You will create a tab in the center of your cover - and this will be the part of the cover you use to stitch the signatures to the cover in one simple pamphlet stitch.

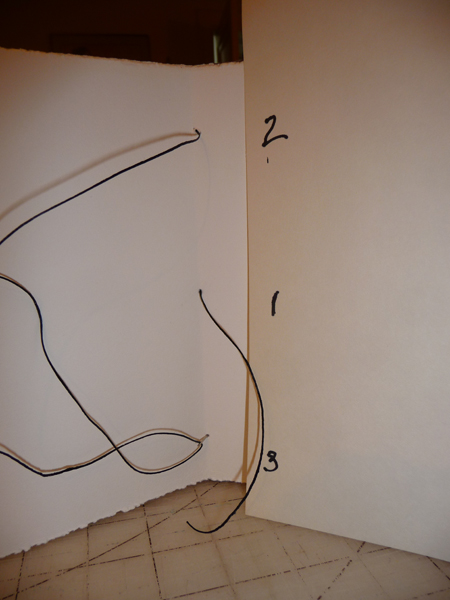
Getting Ready to Stitch Your Book Together: THIS IS THE SINGLE MOST IMPORTANT PHOTO!!
Open each signature and line up the folds against the fold creating the tab. Note that one signature opens in one direction and the other signature opens in the opposite direction. You are now going to use a single pamphlet stitch through all 3 layers at the same time! I cut my cover 1/8" more than the height of the folios to make sure that the cover protected the paper.
Notice that the fold in each signature is lined up with the folds you created to make the tab. You will punch holes into the fold of each signature and in the folds that are 1/2" from the center fold in the cover.

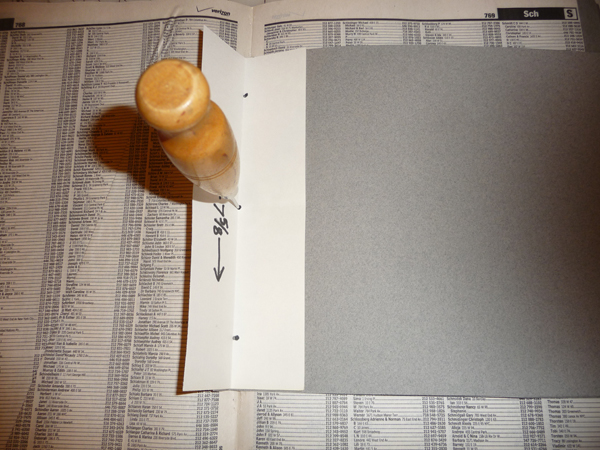
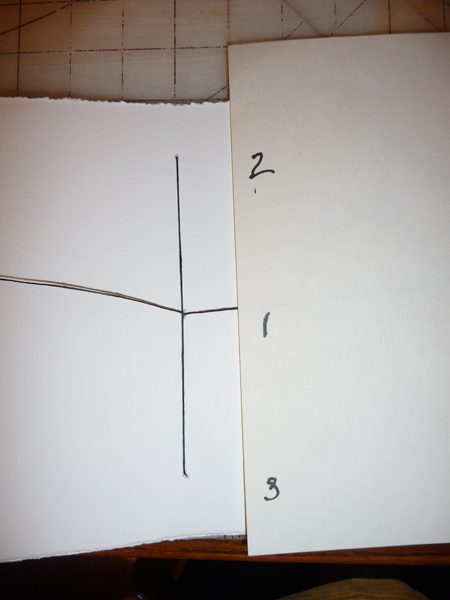
I made what bookbinders call a jig to punch my holes in both signatures and the cover. A jig is essentially a pattern that you can use to mark holes in the same positions on multiple signatures. Mine is a piece of paper that is about 3" wide and the height of the book cover. I marked the jig 1" from the top and bottom of the cover and in the middle - for a total of 3 holes. I then laid the fold of the jig in the fold of the signatures and the folds of the cover and punched holes with my awl. A phone book makes a wonderful support for the process because you can nestle the folds of your signatures and cover into the fold of the phone book. I punched the holes in each section separately because the papers were too thick to do them all together.
In the next photo you see the cover being punched. The tab is to the left, under the jig and the rest of the cover is to the right, and I'm punching the holes through two layers of the cover in the folds creating the tab.
After the holes are punched, align both signatures, one on either each side of the cover tab as demonstrated in the earlier photo - and you are ready for stitching!
The Pamphlet Stitch: There are many diagrams and video tutorials to learn a 3-hole pamphlet stitch. I've included a basic summary below.
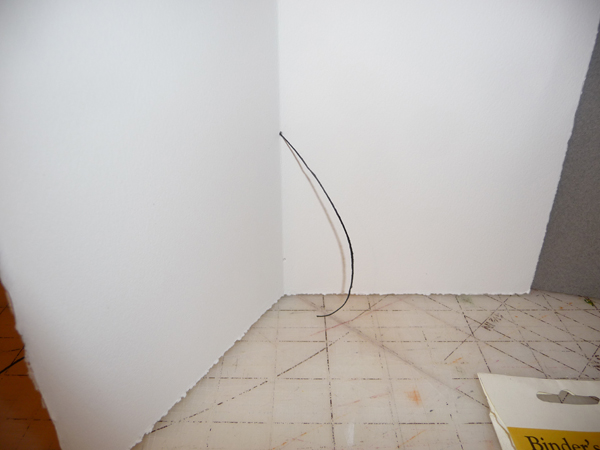
Cut a length of thread 3 times the height of the signature. Pass the needle out the center hole, leaving a 3-4" tail for tying later.
Pass the needle back in through Hole #2 and out of Hole #3.
Then pass the needle back in through Hole #1. It is important to have the two threads that are in hole 1 to straddle the long stitch between Holes #2 and 3 as in this photo below.
Make sure the thread is pulled tight through all of the holes and tie a secure square knot ( I tie a square knot twice so it can't come undone). Then clip the ends to about 1/2".

Creating Flaps: If you added several inches on each side of your cover, you can now fold them in over the signatures creating flaps. They can even be glued down across the bottom to create pockets.

You can now decorate your cover with collage like I did, or paint, stamps, stencils, screens etc.
HAPPY BOOKBINDING AND PLEASE CONTACT ME WITH ANY QUESTIONS. I'd also love it if you would leave me comments if you would like more bookbinding tutorials.
Here is a link to my tutorial for creating a watercolor journal from an old, orphan book.
http://www.paperandthreads.com/2012/02/watercolor_sketchbook_tutorial.php